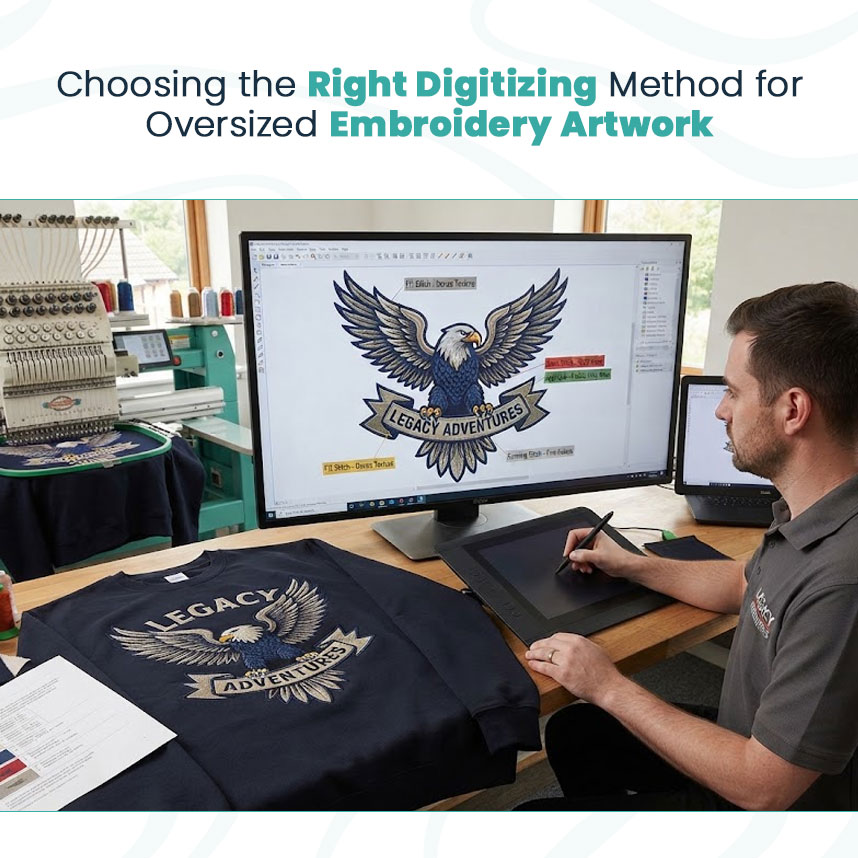
An oversized embroidery design does not always need an oversized stitch count. When large logos, letters, or graphics are digitized entirely with fill stitches, the finished embroidery can become heavy and time-consuming to produce.
A smarter approach starts with selecting the right digitizing method for each section of the artwork.
Not Every Area Needs a Full Fill
Large solid sections are usually the biggest contributors to stitch count. Instead of filling every inch with thread, some areas can be created with appliqué fabric while embroidery is used for borders, details, and finishing.
This approach can make a noticeable difference in production.
Key advantages include:
- Fewer stitches in large design areas
- Faster completion times
- Lower thread usage
- Reduced bulk on the garment
- More opportunities to add texture
The decision comes down to the artwork itself. A simple block letter may work well with appliqué, while a small detailed logo may need traditional fill stitching to maintain its appearance.
Choosing the Right Method for the Artwork
Understanding different types of embroidery digitizing helps when planning a large design. Fill stitches, satin stitches, appliqué, and other techniques serve different purposes.
For example:
- Fill stitches work well for broad embroidered areas.
- Satin stitches suit borders, lettering, and narrow elements.
- Appliqué can replace large stitched sections with fabric.
- Running stitches can handle outlines and fine details.
Combining these techniques can produce a more balanced design than relying on one stitch type throughout the entire artwork.
Production Starts With Better Planning
Before digitizing a large design, it helps to review where stitches actually add value. Some sections need thread coverage for detail and color, while others can be represented more efficiently with fabric.
The goal is not simply to use fewer stitches. The goal is to create a design that runs smoothly, looks clean, and fits the intended garment.
By matching each part of the artwork with the appropriate technique, large embroidery designs can maintain their visual impact without placing unnecessary demands on the machine or fabric.
Start With the Basic Production Details
A clear request should explain the purpose of the design. A logo for a polo shirt may need different settings than the same artwork prepared for a structured cap or heavy jacket.
Before submitting artwork, include:
- Garment type
- Fabric or material
- Embroidery location
- Required design size
- Number of colors
- Preferred file format
- Expected production quantity
These details give the digitizer a better understanding of the final application.
Explain Any Important Design Preferences
Some customers have specific expectations about lettering, small details, or the overall appearance of the embroidery. Mentioning these requirements at the beginning can prevent unnecessary revisions.
For example, you may want:
- Small text to remain readable
- Certain parts of the logo to stand out
- Specific areas simplified for embroidery
- A particular stitch effect
- The design adjusted for a limited embroidery area
When these details are clear from the beginning, custom embroidery digitizing services can prepare the file with the intended result in mind.
Send the Best Artwork Available
Low-quality images can make the digitizing process more difficult. Whenever possible, provide clean artwork with visible lines and accurate colors.
If a vector file is available, include it with the request. If not, send the highest-quality version you have.
A Good Brief Saves Time Later
Clear communication does not need to be complicated. A short but complete production brief can reduce back-and-forth messages and help the digitizer make appropriate decisions from the start.
By providing artwork, garment details, sizing, placement, and design preferences upfront, apparel businesses can move into production with fewer revisions and a clearer path toward the desired embroidered result.